Playing around with Google Kubernetes Engine
I have been playing around with Kubernetes and Google Kubernetes Engine lately, and I figured why not share some of my notes on my blog. With that, in this post, I documented how I set up a GKE cluster, installed some useful tools and automations, and then deployed a demo application called “microblog”.
Prerequisites
Install gcloud and kubectl for your distro, then configure gcloud:
export PROJECT_ID=
gcloud auth login
gcloud config set project $PROJECT_ID
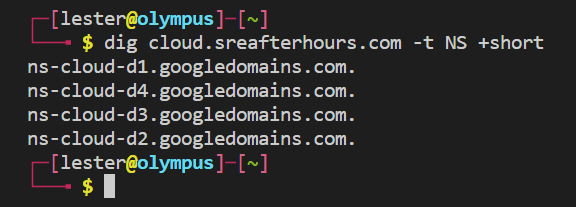
I am using my subdomain cloud.sreafterhours.com in this documentation, which is delegated to Cloud DNS:
Certificate management
I prefer automating certificate management for relatively-small projects. This saves a lot of management overhead, and allows users (i.e. developers) to freely use certificates on the ingresses they deploy.
In this exercise, I am using cert-manager and Let’s Encrypt ACME issuer.
DNS challenge
When creating a certificate signing request, you typically have to prove ownership to the domain(s) you are creating a certificate for. There are a few ways to resolve the challenge for verifying domain ownership, but considering that I use Cloud DNS for the domains anyway, I would just use Cloud DNS challenge.
Create a service account that will be used by cert-manager to solve the DNS challenge:
gcloud iam service-accounts create sa-dns01-solver --display-name "Kubernetes cert-manager DNS resolver"

gcloud projects add-iam-policy-binding $PROJECT_ID \
   --member serviceAccount:sa-dns01-solver@$PROJECT_ID.iam.gserviceaccount.com \
   --role roles/dns.admin
The above command attaches the dns.admin role. Alternatively, you could also create a role with only the following permissions:
- dns.resourceRecordSets.*
- dns.changes.*
- dns.managedZones.list
Generate a key for the service account:
gcloud iam service-accounts keys create key.json \
  --iam-account sa-dns01-solver@$PROJECT_ID.iam.gserviceaccount.com
cert-manager
Deploy cert-manager and verify:
kubectl apply -f https://github.com/cert-manager/cert-manager/releases/download/v1.8.2/cert-manager.yaml

kubectl -n cert-manager get all
Create a Kubernetes secret out of the key. Create it in the cert-manager namespace since we are creating a cluster issuer in the next steps:
kubectl -n cert-manager create secret generic \
  clouddns-dns01-solver-svc-acct --from-file=key.json

# clean up
rm -f ./key.json
Create the ClusterIssuer, passing information such as administrator’s email address, project ID, and the name of the secret containing the service account credentials:
MY_EMAIL=<email>

cat <<EOF | kubectl apply -f -
apiVersion: cert-manager.io/v1
kind: ClusterIssuer
metadata:
  name: letsencrypt-production
spec:
  acme:
    server: https://acme-v02.api.letsencrypt.org/directory
    email: ${MY_EMAIL}
    privateKeySecretRef:
      name: letsencrypt-production
    solvers:
    - dns01:
        cloudDNS:
          project: ${PROJECT_ID}
          serviceAccountSecretRef:
            name: clouddns-dns01-solver-svc-acct
            key: key.json
EOF
Alternatively, you could also use LE’s staging server for testing purposes:
cat <<EOF | kubectl apply -f -
apiVersion: cert-manager.io/v1
kind: ClusterIssuer
metadata:
  name: letsencrypt-staging
spec:
  acme:
    server: https://acme-staging-v02.api.letsencrypt.org/directory
    email: ${MY_EMAIL}
    privateKeySecretRef:
      name: letsencrypt-staging
    solvers:
    - dns01:
        cloudDNS:
          project: ${PROJECT_ID}
          serviceAccountSecretRef:
            name: clouddns-dns01-solver-svc-acct
            key: key.json
Google Kubernetes Engine
Create a small 1-node cluster with machine type e2-standard-4 (4 vCPUs, 8 GB memory). I am creating it in an existing manual-mode VPC. Also enable Dataplane v2, because [eBPF]](https://ebpf.io/what-is-ebpf/) FTW!
gcloud beta container clusters create demolopolis \
  --zone "europe-west3-a" \
  --network "europe-vpc" --subnetwork "west3" \
  --disk-size "50" \
  --metadata disable-legacy-endpoints=true \
  --num-nodes "1" --machine-type "e2-standard-4" \
  --no-enable-intra-node-visibility \
  --enable-dataplane-v2 \
  --addons HorizontalPodAutoscaling,GcePersistentDiskCsiDriver \
  --workload-pool "<PROJECT_ID>.svc.id.goog"
Notice that the HttpLoadBalancing addon was not included, because in the next section we will configure ingress-nginx instead.
Result:
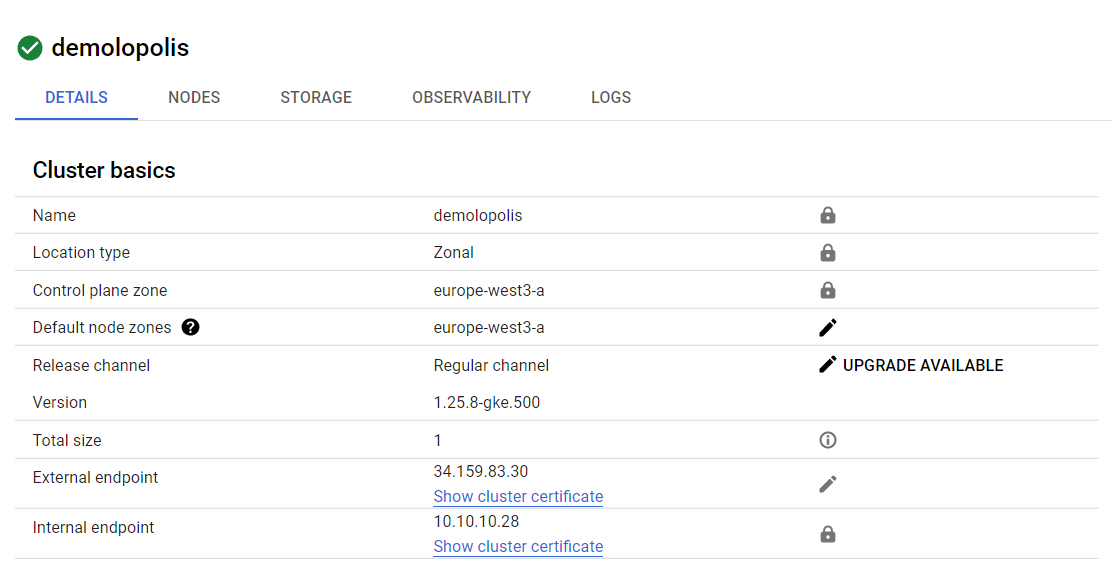
Configure kubectl:
gcloud container clusters get-credentials demolopolis --region europe-west3-a

# verify:
kubectl cluster-info
Ingress controller
Deploy ingress-nginx:
kubectl apply -f https://raw.githubusercontent.com/kubernetes/ingress-nginx/controller-v1.7.1/deploy/static/provider/cloud/deploy.yaml
kubectl -n ingress-nginx get po
Tools
Deploy netshoot, a very handy tool for troubleshooting and verifying connectivity:
cat <<EOF | kubectl apply -f -
apiVersion: v1
kind: Pod
metadata:
  name: netshoot
  labels:
    app.kubernetes.io/name: netshoot
spec:
  containers:
  - name: netshoot
    image: nicolaka/netshoot
    command: ['sh', '-c', 'while true; do sleep 5; done']
EOF
Monitoring
Prometheus and Grafana
Prometheus management can get complicated sometimes. I would simplify this by using the Prometheus Operator instead. Here is a cute trick for grabbing the manifests from the GitHub repo while trying not to clutter your local machine:
mkdir ./work
docker run -it -v ${PWD}/work:/work -w /work alpine sh
apk add git
# clone using http so you don't have to install ssh
git clone --depth 1 https://github.com/prometheus-operator/kube-prometheus.git -b release-0.12 /tmp/
cp -Rp /tmp/manifests .
exit
Create the namespace and CRDs. Here we are doing a server-side apply because of some CRD sizes.
kubectl apply --server-side -f ./work/manifests/setup
Deploy the stack:
# wait for the components to complete to avoid race condition
kubectl wait \
	--for condition=Established \
	--all CustomResourceDefinition \
	--namespace=monitoring

kubectl apply -f ./work/manifests/

# verify:
kubectl -n monitoring get pods
Temporarily port-forward to test:
kubectl -n monitoring port-forward --address 0.0.0.0 svc/grafana 3000:3000
Grafana should be available at http://127.0.0.1:3000.
The kube-prometheus manifests include network policies which will restrict ingress access to pods, so we need to define network policies to allow our ingress controller (and tools) to reach the Prometheus and Grafana pods:
cat <<EOF | kubectl apply -f -
apiVersion: networking.k8s.io/v1
kind: NetworkPolicy
metadata:
  labels:
    app.kubernetes.io/component: grafana
    app.kubernetes.io/name: grafana
  name: allow-ingress-to-grafana
  namespace: monitoring
spec:
  ingress:
  - from:
    - namespaceSelector:
        matchLabels:
          app.kubernetes.io/name: ingress-nginx
    - namespaceSelector:
        matchLabels:
          kubernetes.io/metadata.name: default
      podSelector:
        matchLabels:
          app.kubernetes.io/name: netshoot
    ports:
    - port: 3000
      protocol: TCP
  podSelector:
    matchLabels:
      app.kubernetes.io/component: grafana
      app.kubernetes.io/name: grafana
      app.kubernetes.io/part-of: kube-prometheus
  policyTypes:
  - Ingress
---
apiVersion: networking.k8s.io/v1
kind: NetworkPolicy
metadata:
  labels:
    app.kubernetes.io/component: prometheus
    app.kubernetes.io/name: prometheus
  name: allow-ingress-to-prometheus
  namespace: monitoring
spec:
  ingress:
  - from:
    - namespaceSelector:
        matchLabels:
          app.kubernetes.io/name: ingress-nginx
    - namespaceSelector:
        matchLabels:
          kubernetes.io/metadata.name: default
      podSelector:
        matchLabels:
          app.kubernetes.io/name: netshoot
    ports:
    - port: 9090
      protocol: TCP
  podSelector:
    matchLabels:
      app.kubernetes.io/component: prometheus
      app.kubernetes.io/instance: k8s
      app.kubernetes.io/name: prometheus
      app.kubernetes.io/part-of: kube-prometheus
  policyTypes:
  - Ingress
EOF
Example commands to verify that we properly formatted our ingress rules:
## verify that the rules have been created properly:
kubectl -n monitoring get networkpolicy allow-ingress-to-grafana -o jsonpath='{.spec.ingress[0].from[0]}' | jq
kubectl -n monitoring get networkpolicy allow-ingress-to-grafana -o jsonpath='{.spec.ingress[0].from[1]}' | jq
Test with netshoot:
kubectl exec -it netshoot -- bash -c 'curl http://grafana.monitoring.svc.cluster.local:3000'
kubectl exec -it netshoot -- bash -c 'curl http://prometheus-k8s.monitoring.svc.cluster.local:9090'
Create a single certificate for both Prometheus and Grafana:
cat <<EOF | kubectl apply -f -
---
apiVersion: cert-manager.io/v1
kind: Certificate
metadata:
  name: monitoring-cloud-sreafterhours-com
  namespace: monitoring
spec:
  secretName: monitoring-tls
  issuerRef:
    name: letsencrypt-production
    kind: ClusterIssuer
  dnsNames:
  - grafana.cloud.sreafterhours.com
  - prometheus.cloud.sreafterhours.com
EOF
This would use the first entry as the canonical name, and of course the entries under dnsNames would be added as the cert SAN.
Create a single ingress resource for Grafana and Prometheus, and route to corresponding backend using the CNI in the request:
# get the port names
kubectl -n monitoring get svc grafana -o yaml
kubectl -n monitoring get svc prometheus-k8s -o yaml

MY_IP=$(curl -s ipconfig.io)

cat <<EOF | kubectl apply -f -
apiVersion: networking.k8s.io/v1
kind: Ingress
metadata:
  annotations:
    nginx.ingress.kubernetes.io/whitelist-source-range: ${MY_IP}
  name: monitoring
  namespace: monitoring
spec:
  ingressClassName: nginx
  tls:
    - hosts:
      - grafana.cloud.sreafterhours.com
      - prometheus.cloud.sreafterhours.com
      secretName: monitoring-tls
  rules:
  - host: grafana.cloud.sreafterhours.com
    http:
      paths:
      - backend:
          service:
            name: grafana
            port:
              name: http
        path: /
        pathType: Prefix
  - host: prometheus.cloud.sreafterhours.com
    http:
      paths:
      - backend:
          service:
            name: prometheus-k8s
            port:
              name: web
        path: /
        pathType: Prefix
EOF
Create the A records in Cloud DNS:
# grab the external IP address associated with the LB resource:
EXT_IP=$(kubectl -n monitoring get ing monitoring -o jsonpath='{.status.loadBalancer.ingress[0].ip}')

gcloud dns record-sets create grafana.cloud.sreafterhours.com. \
  --zone="cloud-sreafterhours-com" --type="A" --ttl="300" \
  --rrdatas="${EXT_IP}"
gcloud dns record-sets create prometheus.cloud.sreafterhours.com. \
  --zone="cloud-sreafterhours-com" --type="A" --ttl="300" \
  --rrdatas="${EXT_IP}"
Test:
curl https://grafana.cloud.sreafterhours.com/ -I
curl https://prometheus.cloud.sreafterhours.com/ -I
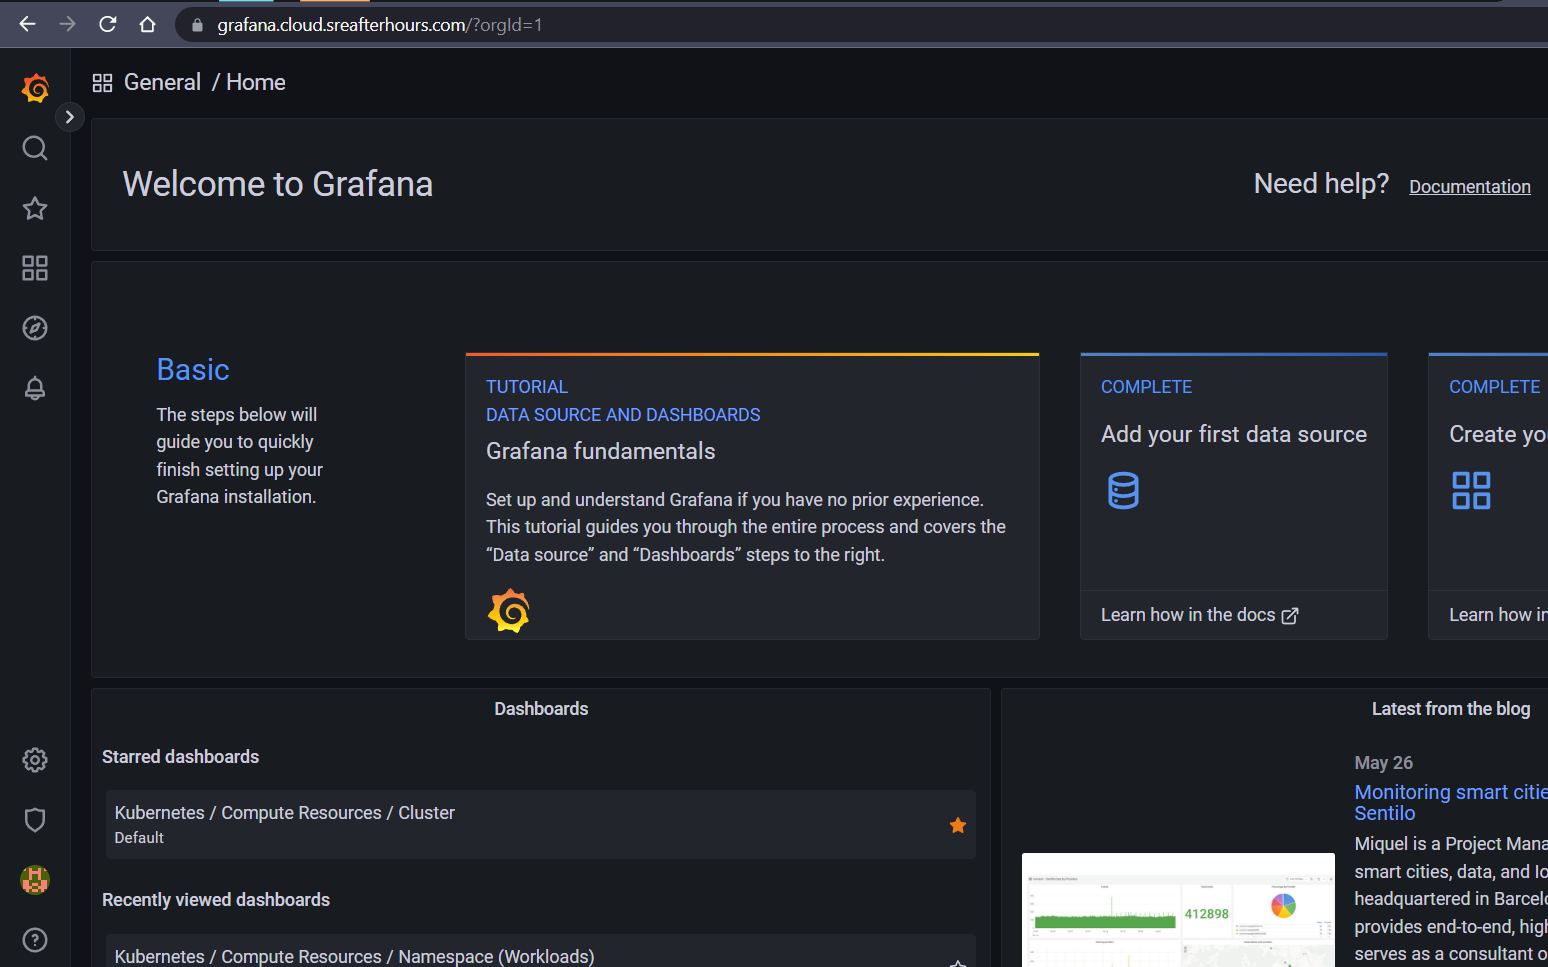
Grafana:
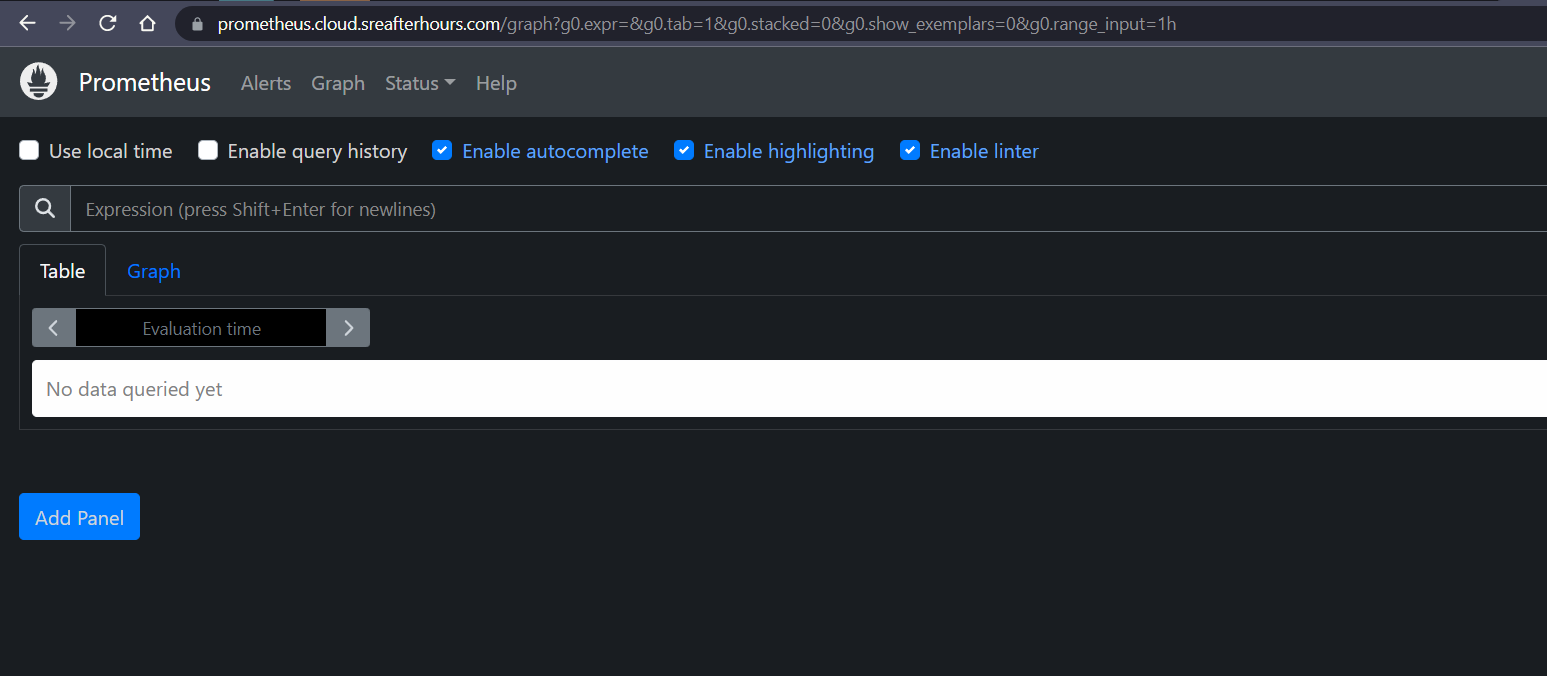
Prometheus:
Application
Background
The application is called “microblog” and was used by Miguel Griberg in his Flask Mega-Tutorial blog. I cloned the repository here.
Dockerize the application
Create the Docker Artifact Registry. For this demo, I created:
europe-west3-docker.pkg.dev/<PROJECT_ID>/demolopolis
The application already had a Dockerfile, but there was an issue with the dependencies and I had opinions on a few things, so I recreated it as follows:
FROM python:3.11-slim

WORKDIR /app

COPY requirements.txt requirements.txt
RUN pip install -r requirements.txt
RUN pip install gunicorn pymysql cryptography

COPY app app
COPY migrations migrations
COPY microblog.py config.py boot.sh ./
RUN chmod a+x boot.sh

ENV FLASK_APP microblog.py

EXPOSE 5000
ENTRYPOINT ["./boot.sh"]
GitHub Actions
The following action builds the image and pushes it to Artifact Registry:
name: Release
on:
  push:
jobs:
  docker-image-release:
    name: Build & push to Google Artifact Registry
    runs-on: ubuntu-latest
    if: github.event_name == 'push' && startsWith(github.ref, 'refs/tags')
    steps:
      - name: Checkout
        id: checkout
        uses: actions/checkout@v3
      - name: Authenticate to Google Cloud
        id: auth
        uses: google-github-actions/auth@v0
        with:
          token_format: access_token
          credentials_json: '$'
      - name: Login to the registry
        uses: docker/login-action@v1
        with:
          registry: europe-west3-docker.pkg.dev
          username: oauth2accesstoken
          password: '$'
      - name: Get image tag
        id: get-image-tag
        run: echo ::set-output name=short_ref::${GITHUB_REF#refs/*/}
      - name: Build and push the image
        id: build-tag-push
        uses: docker/build-push-action@v2
        with:
          push: true
          tags: |
            europe-west3-docker.pkg.dev/<PROJECT_ID>/demolopolis/microblog:$
            europe-west3-docker.pkg.dev/<PROJECT_ID>/demolopolis/microblog:latest
The flow is very simple - build using tags, authenticate to Google Cloud, login to the registry, extract the git tag, then build and push the image with the corresponding tag and additionally the latest tag.
Deployment
The following command creates a namespace, a certificate, a deployment with 1 replica, a service, and an nginx ingress resource.
cat <<EOF | kubectl apply -f -
apiVersion: v1
kind: Namespace
metadata:
  labels:
    app.kubernetes.io/instance: microblog
    app.kubernetes.io/name: microblog
    kubernetes.io/metadata.name: microblog
  name: microblog
---
apiVersion: cert-manager.io/v1
kind: Certificate
metadata:
  name: microblog-cloud-sreafterhours-com
  namespace: microblog
spec:
  secretName: microblog-tls
  issuerRef:
    name: letsencrypt-production
    kind: ClusterIssuer
  dnsNames:
  - microblog.cloud.sreafterhours.com
---
apiVersion: apps/v1
kind: Deployment
metadata:
  labels:
    app: microblog
  name: microblog
  namespace: microblog
spec:
  replicas: 1
  selector:
    matchLabels:
      app: microblog
  template:
    metadata:
      labels:
        app: microblog
    spec:
      containers:
      - image: europe-west3-docker.pkg.dev/<PROJECT_ID>/demolopolis/microblog:1.0
        name: microblog
        ports:
        - containerPort: 5000
        resources:
          requests:
            cpu: "250m"
            memory: "100Mi"
          limits:
            cpu: "500m"
            memory: "500Mi"
---
apiVersion: v1
kind: Service
metadata:
  labels:
    app: microblog
  name: microblog
  namespace: microblog
spec:
  ports:
  - name: microblogport
    port: 80
    protocol: TCP
    targetPort: 5000
  selector:
    app: microblog
  type: ClusterIP
---
apiVersion: networking.k8s.io/v1
kind: Ingress
metadata:
  annotations:
    nginx.ingress.kubernetes.io/whitelist-source-range: ${MY_IP}
  name: microblog
  namespace: microblog
spec:
  ingressClassName: nginx
  tls:
    - hosts:
      - microblog.cloud.sreafterhours.com
      secretName: microblog-tls
  rules:
  - host: microblog.cloud.sreafterhours.com
    http:
      paths:
      - backend:
          service:
            name: microblog
            port:
              name: microblogport
        path: /
        pathType: Prefix
EOF
You might have noticed that the ingress resources were annotated to allow only our public IP address. This is a quick and easy-to-add layer of security to our application while testing. A user coming from another source IP address would get a 403 Forbidden error:
Wait for the certificate to be signed and the Load-Balancer to allocate a public IP address:
kubectl -n microblog get cert,ing
Create the A record in Cloud DNS:
# grab the external IP address associated with the LB resource:
EXT_IP=$(kubectl -n microblog get ing microblog -o jsonpath='{.status.loadBalancer.ingress[0].ip}')

gcloud dns record-sets create microblog.cloud.sreafterhours.com. \
  --zone="cloud-sreafterhours-com" --type="A" --ttl="300" \
  --rrdatas="${EXT_IP}"
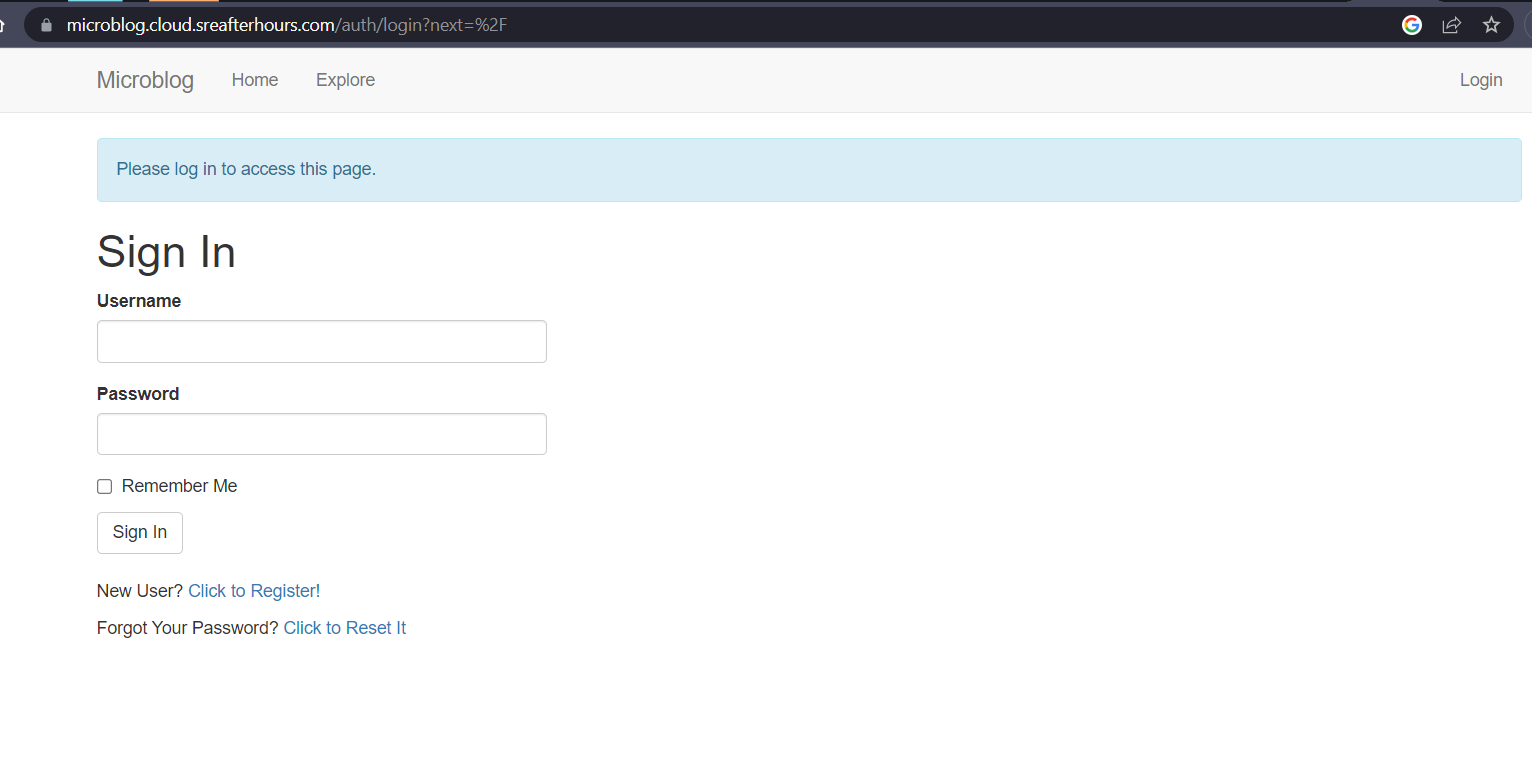
Application is now available at https://microblog.cloud.sreafterhours.com.
Cleanup
gcloud dns record-sets delete grafana.cloud.sreafterhours.com. --zone="cloud-sreafterhours-com" --type="A"
gcloud dns record-sets delete prometheus.cloud.sreafterhours.com. --zone="cloud-sreafterhours-com" --type="A"
gcloud dns record-sets delete microblog.cloud.sreafterhours.com. --zone="cloud-sreafterhours-com" --type="A"
gcloud container clusters delete demolopolis --region europe-west3-a
Next steps:
- I want to get rid of the YAMLs for deploying the application and use ArgoCD instead.
- Running multiple replicas. Firstly, I need to figure out how the application would support this properly.
- Automate Cloud DNS provisioning.
Thanks for reading!